Posts

Showing posts from April, 2019

Our Creation Brought to Life

Image
After weeks of ideation, it was finally time to fabricate our design. We began by 3D printing all the necessary parts of the Recap. the prints came out pretty great considering the pieces are so small. The next piece to make was the silicone centre. First we had to make a mold of piece, then we poured silicone into it to make our piece. This took several tries to get a piece that was the proper thickness. In the end, this is what we presented to our classmates. Unfortunately it still does not work, but I had a good time working with my group mates. Take a look at our infomercial below: https://drive.google.com/file/d/1qhyx7ed3kUbufEia6f0KYrgbay86ro_k/view?usp=sharing I have yet to give up on this project. I have other ideas in mind for something that might work with the twisting pieces we made. I just can't get the thought of an umbrella mechanism out of my head...
Shelves at Last

Image
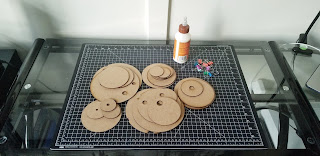
Continuing on from my last post, I now had all my pieces and was ready to glue them all together. This was thought to be the easiest part of the entire project. However I underestimated the process and ended up glueing several pieces the wrong way. This included all three of the bases. I was able to pry some pieces apart, sand them down and glue them again properly. I did not photo document this screw up.. Once I finally fixed/glued/filed all my pieces, I began to build the puzzles! There were many stability issues due to weight distribution. This could be mitigated during the surface modelling phase. I would simply have to rotate and adjust certain pieces so that pieces don't topple over. PUZZLE #1 This puzzle is the one that has its pieces holes etched on both sides. As predicted some of the deep holes start to break away causing some issues with pieces staying secure. But for the most part it turned out pretty well. This one is the 2nd hardest to...